Note: This article has been updated with lastest available information on January 13th, 2022 at 04:46 pm
Desktop and Web UI which can be used to:
- manage tone library and browse tone communities
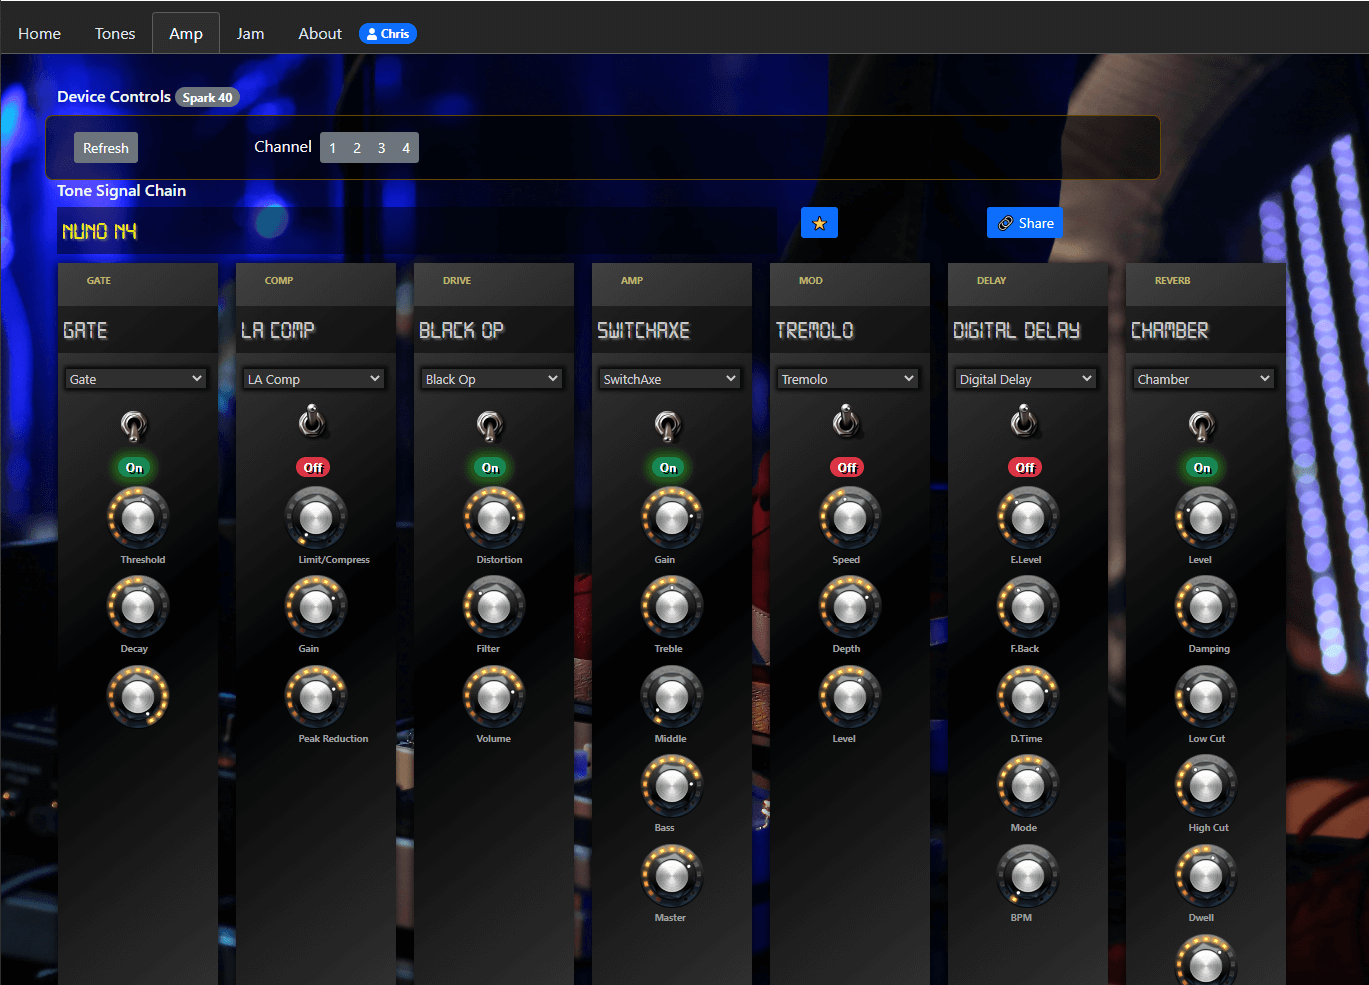
- connect to supported amp via bluetooth, manage basic settings and set presets.
- browse and favourite video backing tracks
Download from https://soundshed.com or check out the web app version.
Windows, macOS and Linux. 64-bit OS and Bluetooth (BLE) connectivity required.
Supported amps:
- Positive Grid Spark 40 and Spark Mini: https://www.positivegrid.com/spark/

- Invalid settings may crash amp, requiring amp to be switched off and on again.
Possible future features include:
- More reliable amp communication
- UI refinements
- More tone community features
- Lessons (community supplied links to video lessons etc)
- artist and song metadata for correct cross reference of tones, backing tracks and lessons.
- Support for an extensible range of amp and FX units
- Abstraction to map device fx settings to a "soundshed" generic list of common FX.
- For new devices implement read/write of presets/fx settings from the device and mappings to generic fx
- Allow presets made for any device to be approximately mapped to any other support device.
- Provide preset cloud for devices which don't natively have one.
- Possibly extend presets to include impulse response (IR) waveforms for devices that support them.
- Example Target devices: Line 6 Pod Go, Boss Katana MK II
Input event from keyboard or midi can be mapped to a preset slot (e.g. channels 1-4). The app can currently learn some midi control inputs (note-on and program-change) and assign them to amp channel selections.
- default slot settings (fx type, parameter settings) can be applied, e.g a default Noise Gate configuration which can either be applied all the time or on demand.
![]()
-
Prerequisites: Node 20.x or higher, npm 6.14 or higher. Windows, macOS or Linux
-
VS Code is the recommended editor
-
If working on the Lessons portion, you will need to add your youtube-data-api key to the
/src/env.tsfile. More information available here. Please do not submit this file in pull requests. -
Clone this repository
-
run
npm installon the repo path
- edit platformUtils.ts to include platformUtils.web.ts, edit env.ts to be web mode
- Run
npm run watch-webin one terminal to continuously rebuild the UI code ornpm run build-webto just build once. Note that there is a build for the app UI and a build for the electron main process, some of which use the same files (types etc). - Run
npx http-server buildto start local web server on http://localhost:8080/ - Example with SSL enabled:
npx http-server build --ssl -K C:/Work/Misc/ssl/localhost-key.pem -C C:/Work/Misc/ssl/localhost.pem
- edit platformUtils.ts to include platformUtils.electron.ts, edit env.ts not to be web mode
- Run
npm run watch-electronin one terminal to continuously rebuild the UI code ornpm run build-electronto just build once. Note that there is a build for the app UI and a build for the electron main process, some of which use the same files (types etc). - Run
npm run start-electronto launch the UI
The final installable app is packaged using electron-forge:
npm run make
- edit env.ts, set IsWebMode true/false
- edit platformUtils.ts, import required platform
- Electron
- ensure electron config selected
- ensure webpack.electron.config is set to production
- Increment version in package.json, run installer Github Action, run Release Github Action, Edit release notes.
- Web
- ensure web config selected
- ensure webpack.web.config is set to production
- Run build and deploy files
The app is built using TypeScript. For the electron version, electron/node is the host process, talking to the electron renderer and back again (the standard electron way of working). Both web and electron versions now use Web Bluetooth (BLE).
The UI is React (TypeScript variant) with bootstrap for UI css. The Pullstate library is use for app state management and a couple of view model classes exist to centralise common points of interaction with APIs, the devices and state.
Original template is loosely based on https://www.sitepen.com/blog/getting-started-with-electron-typescript-react-and-webpack
[BLE Reader Data Received Queue]
[Spark Reader Message Queue]
[App Message Reader Loop]
At the bluetooth level the app registers a listener to consume data changes for a hardware characteristic, this delivers a stream of bytes in chunks. The app continuously queues the data recieved and looks for message terminator bytes (F7). When encountered it queues the current data for message processing higher up the chain.
The app then continuously runs a message processing loop to peek for terminated data chunks from the bluetooth reader, these are picked up from the bluetooth reader queue and parsed/interpreted into messages for our app, then added to our app message queue for later processing.
More information on Soundshed the Github page
Leave A Comment?